


Storyline 360: How to Share Custom Themes
Article Last Updated
This article applies to:
Need to share a custom Storyline 360 theme with others? Or use a custom theme from someone else? No problem. Jump to each of these sections for details:
- Understanding Themes
- Creating Custom Themes
- Sharing Custom Themes with Others
- Using Custom Themes You've Received
Understanding Themes
In Storyline 360, a theme includes these design elements:
Themes are found on the Design tab on the Storyline ribbon. You can apply a single theme to an entire course or use multiple themes in the same course. Learn more about themes here.

Creating Custom Themes
To create your own custom theme:
- Modify your slide master with the background style you want. Add object placeholders and other elements. You can even add more slide layouts if you'd like.
- Choose a set of theme colors or create your own.
- Choose a set of theme fonts or create your own.
- Then go to the Design tab on the ribbon, click the Themes drop-down, and select Save Current Theme. (If the Design tab isn't visible, it means you're still in Slide Master View. Click Close Master View to see the Design tab.)
- Storyline automatically knows where to save your custom theme, so you only need to give it a name and click Save.
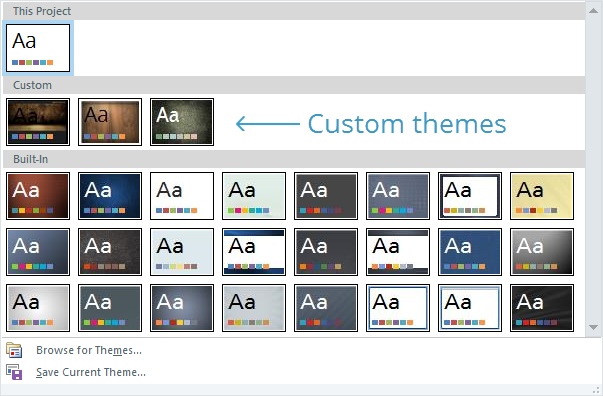
Now, when you go to the Design tab and click the Themes drop-down, you'll see your custom theme in the list.
Sharing Custom Themes with Others
To share a custom theme with another developer:
- Create a new Storyline project and apply your custom theme to it.
- Save the file as a Storyline project or template.
- Send the file to another developer via email, shared network drive, USB drive, etc.
The recipient will need to open the file and save the theme to their library. See the next section for details.
Using Custom Themes You've Received
If someone has shared a custom theme with you, here's how to use it:
- Open the Storyline project file that has the custom theme.
- Go to the Design tab on the ribbon, click the Themes drop-down, and select Save Current Theme.
- Give the theme a recognizable name and click Save.
That's it! Now, you can use the custom theme in any project. Just go to the Design tab and select it from the Themes gallery.
How to save the theme colors and theme fonts separately:
If you only want to use the theme colors or theme fonts, but not the overall theme, you'll need to save the colors and fonts separately. Here's how to save the theme colors:
- First, apply the custom theme to a Storyline project.
- Go to the Design tab on the ribbon, click Colors, and select Create New Theme Colors at the bottom of the list.
- The color editor will appear, and the default colors will match those in the current theme. Make any adjustments you'd like using the color selectors.
- Give your theme a Name and click Save.
And here's how to save the theme fonts:
- First, apply the custom theme to a Storyline project.
- Go to the Design tab on the ribbon, click Fonts, and select Create New Theme Fonts at the bottom of the list.
- The font editor will appear, and the default fonts will match those in the current theme. Adjust them if you'd like.
- Give your theme a Name and click Save.